
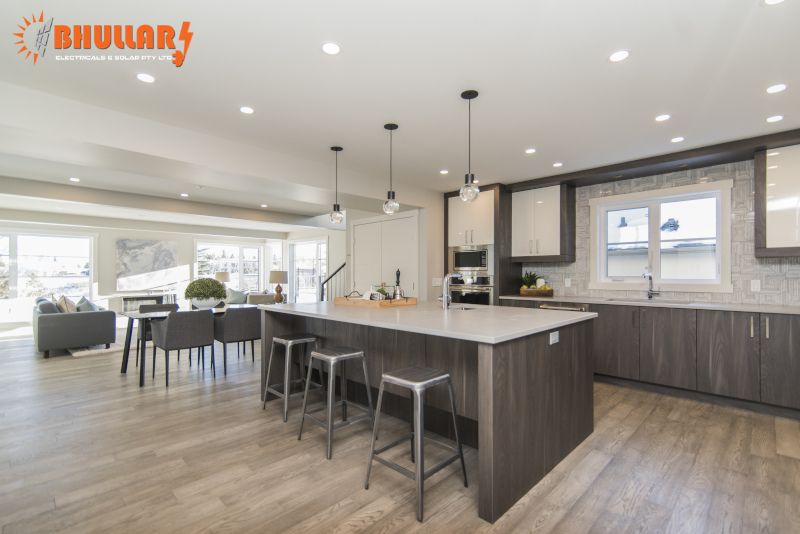
Clearly, Australia has seen a recent spike in the adoption of energy-efficient LED downlights. To be sure, these LED lights are more energy-efficient and offer superior lighting than conventional bulbs like halogen and incandescent downlights. Additionally, because of their extended lifespan, changing bulbs is less expensive and hassle-free. In the lengthy history of lighting, LED downlights are a relatively cutting-edge alternative.
Depending on your preference, LED downlight installation can be wired or done separately with plugs. However, in our opinion, the plug-in option is the best choice because:
- The electrician’s labour usually costs less
- Should you need to change them later, they are simpler to replace
Either way, installing downlights is a job for a licensed electrician.
What are downlights?
Recessed light fittings that fit into a ceiling cavity are called downlights. Due to their sleek, inconspicuous design and ability to give a space a contemporary, fashionable appearance, downlights are very popular. The brightness level can be adjusted to suit your needs as they are adjustable.
Planning your downlights
Work out how much light the room needs
Before installing LED downlights, work out how much light the space needs. Start with the floor area: multiply the room’s length by its width in metres. For example, a room 6.7 metres long and 5.2 metres wide is about 35 square metres.
A kitchen or study needs more light than a bedroom, and a room with a high ceiling or dark walls needs more than one with a standard ceiling and light walls.
Work out how many downlights you need
LED downlights are sold by brightness in lumens, not by watts. Check the lumens on the box, then work out how many lights give the room the brightness it needs. Give your electrician the floor area and they’ll work out how many lights the room needs.
Be aware that pre-wiring may need to be done by an electrician if you are installing lights in a newly built home.
If you already have lights in your house, you might want to think about switching out your old, halogen downlights for more contemporary LED ones.
To ensure safety, it would be advisable to have each light installed with a power connector by electricians, or alternatively, hardwire them.
Set the lights evenly
To have the biggest impact, you should then equally distribute the lights. As a rough guide, leave at least 60 centimetres between downlights.
But keep in mind that this is only a general guideline, and depending on the area, you may need to make some little alterations. Simply concentrate on achieving balanced lighting, and don’t worry if you need to move or add downlights.
A good strategy to control downlight installation costs is to have the lights installed and secured after the ceiling is finished by your painter or builder.
The labour costs for an average homeowner’s electrician can be greatly reduced with this method.
Think about utilising a dimming kit
During installation, a dimming kit is necessary since it controls the output, improving energy efficiency and prolonging the life of the lights.
To create a focal point, use gimbal downlights
By using gimbal downlights to illuminate artwork, you may make a focal point in your space. You can adjust the direction of illumination with these multifunctional downlights, which are a better option than conventional halogen lights because they can rotate and swivel.
Install a power plug for each light
Experts advise using a power plug with every light since it offers the highest level of security and adaptability. Hard-wiring them is the alternative. If they are plugged in, an electrician can unplug and replace them quickly (for example, so a ceiling can be painted), which keeps the labour cost down.
LED downlight kits usually come with a driver fitted with an Australian plug, so your electrician can plug each light into its own plug base in the ceiling.
Installing downlights in an existing house
- Employ an electrician to remove the current transformers and light fittings, then connect an appropriate plug to the flexible power cable.
- Hard-wiring into a socket’s bigger connection holes is significantly quicker and simpler for an electrician to do than hardwiring into a tiny LED driver.
- With plug-in downlights, the electrician can unplug the lights while the painters work and plug them back in afterwards.
Things to consider when purchasing downlights
Make sure you have the appropriate LED bulbs before installing them; otherwise, your efforts might be in vain. For the greatest outcomes, there are a few key elements listed in this section that you should take into account when purchasing downlights.
- Gimbal or fixed downlights
Determine first whether you require fixed downlights, gimbals, or both. Gimbal lights allow you to adjust the illumination in the desired direction, while fixed downlights remain set in one location and point the light in one direction. - Warranty
Make sure your lights are covered by a warranty so you won’t have to pay extra for future repairs or replacements. To be safe, if at all feasible, choose the brand with the longest warranty. - Colour temperatures
The ambiance of your home is determined by the colour temperature. Cool white has a faint bluish hue and helps increase attention by lowering melatonin production, whilst warm white is calming and comfortable.
Bottom line
LED downlights are a versatile, affordable, and energy-efficient lighting solution that may improve the visual appeal and ambiance of any area. To guarantee the installation is completed safely and in accordance with all electrical rules, it is best to engage a registered electrician to wrap up the task.


